AutoML – A Comparison of cloud offerings
AutoML is the process of automatically applying machine learning to real world problems, which includes the data preparation steps such as missing value imputation, feature encoding and feature generation, model selection and hyper parameter tuning. Even though the research field on AutoML exists at least since its first dedicated workshop at ICML in 2014, real world usage just got applicable recently. Google was the first big cloud vendor to offer an AutoML product for vision in 2018, followed by Microsoft that offered Automated Machine Learning as part of AzureML in November. In the end of 2019, AWS also introduced Sagemaker Autopilot, while Azure and Google kept improving their offerings for other types of machine learning tasks.
However, many steps of this end-to-end pipeline have already been automated for some time. Grid and random search strategies for hyper parameter tuning have already been best practice when I entered the field of machine learning in 2013. Since then, additional search strategies have been developed, such as bayesian optimization which is easily applicable using libraries such as scikit-optimize, Hyperopt or SMAC. In recent years automated feature engineering also got popular using frameworks such as Featuretools, tsfresh and autofeat. Following this trend companies such as H2O as well as the open source community tackled the end-to-end Auto-ML challenge and developed commercial offerings such as driverless AI as well as open source projects like tpot and auto-sklearn. Even though these tools are quite popular, this blog post will only compare the offerings of the three big cloud vendors with regard to tabular data. In particular, this post will focus on the qualitative user experience and the offered features, while a future post will compare the quantitative results on different datasets. Also, it should be mentioned that at that point of time (August 2020) all offerings constantly improve rapidly and information might be outdated quickly.
A first impression
While the workflow and user experience vary across offerings, they all share some basic steps: First, an API activation is required and data needs to be uploaded to some kind of bucket. Thereafter, an experiment run can be started at the end of which models can be both either locally exported or directly deployed.
The most obvious differentiation between the frameworks is their intended way of access. At Google, a new automl run can be created directly from the web-console using a webform similar to other Google services. Microsoft and Amazon on the other hand will start a so-called Machine Learning Studio. At Azure, this studio is simply another web UI dedicated to data science and with a more modern look compared to the rest of the azure portal. At Amazon, the ML Studio is a hosted JupyterLab Server with a custom dark theme and a couple of pre-installed plugins, of which one is used to start AutoML runs.
Beside the web interface the cloud vendors all offer a command line interface as well as a Python SDK. However working with these feels quite different. The following sections will show the pros and cons of each experience using an easy binary classification example based on the Adult Dataset.
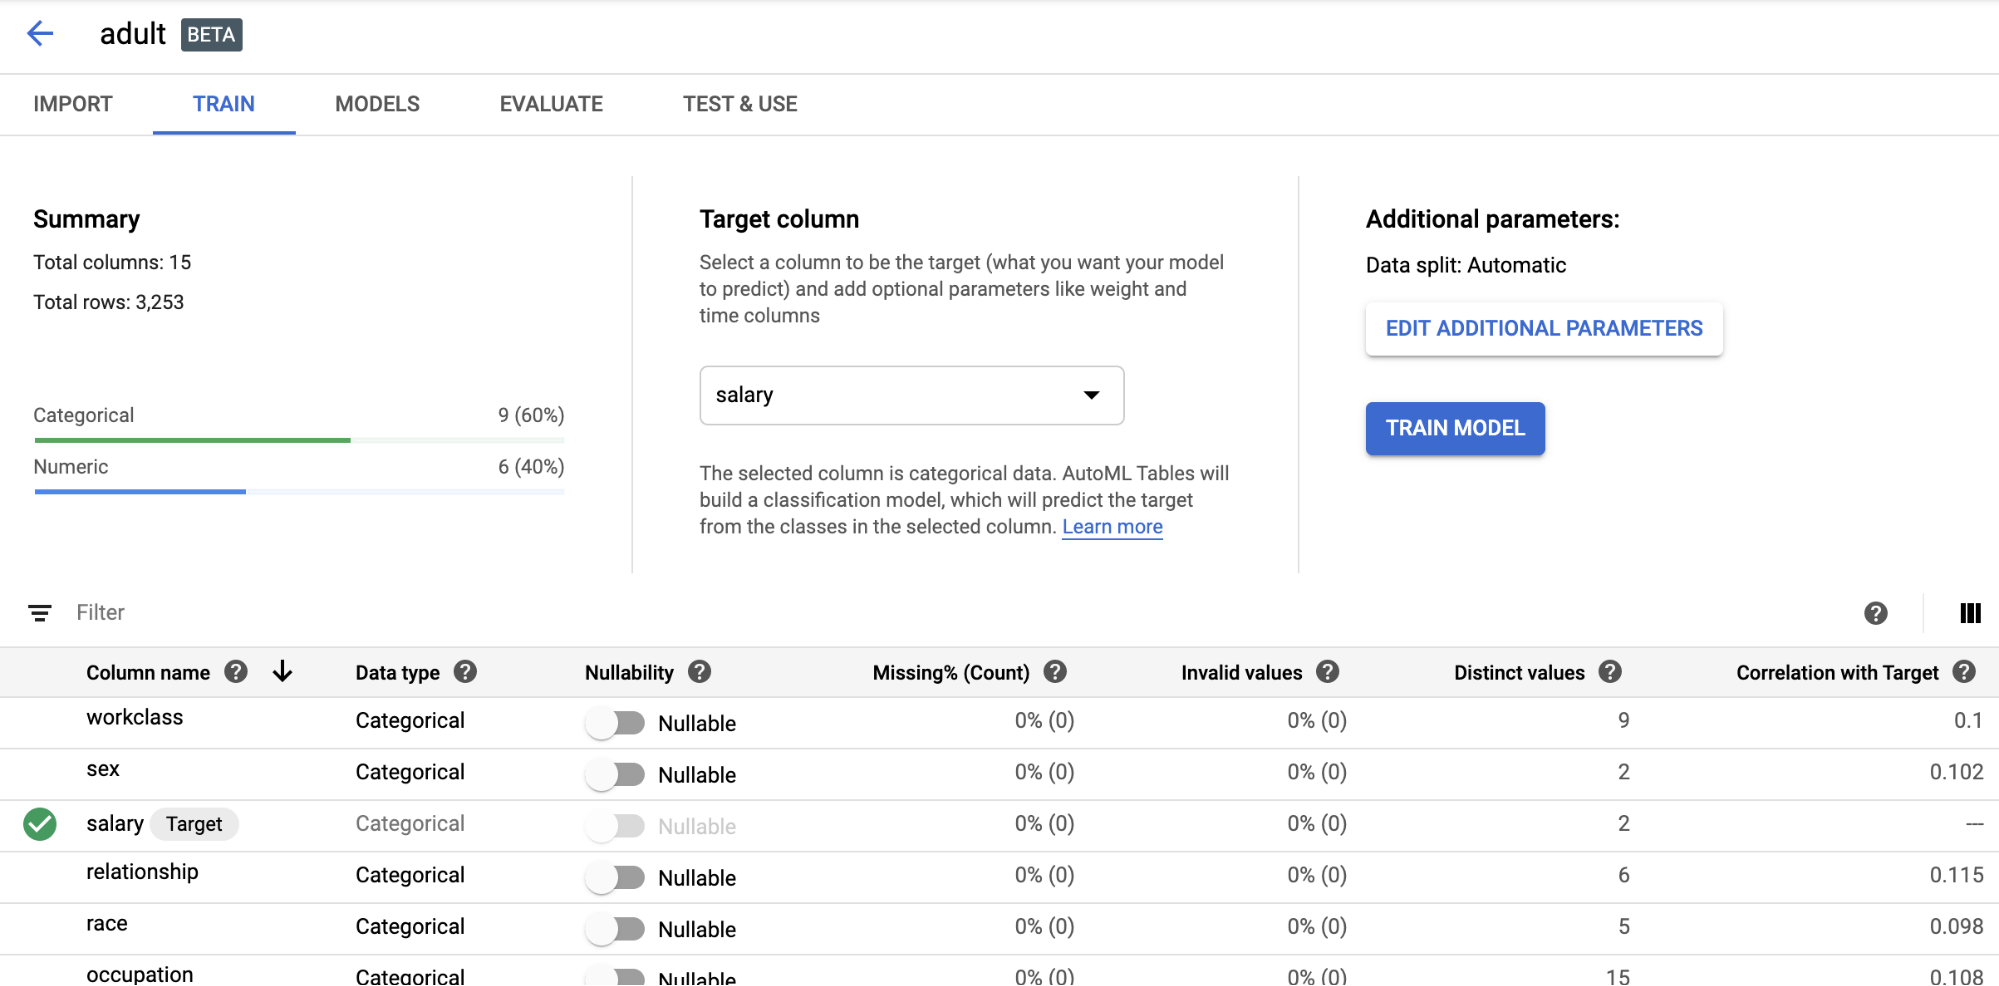
Google AutoML Tables
The Google Interface for AutoML on tabular data is quite minimal. It only has two sections: one listing uploaded datasets, the other trained models. The datasets details page provides some important information, such as column types, the number of missing und unique values as well as each column’s correlation with the target column. The user also has the option to change data types for columns and view some simple analysis plots. When starting a training run, the user can also control how to do the train-test-validation-split, exclude or emphasize columns and choose between a few target metrics. A run also requires a training budget in computing hours and has the option to terminate early if an additional improvement seems unlikely. There is no option to influence the used models or the hardware, which might be problematic if you have specific requirements regarding model explainability or data governance.
Generally, not only Google’s user interface is minimalistic, Google AutoML really hides a lot of the complexity and nasty details. For example, at the end of an AutoML run Google only shows the best model, but hides other evaluated candidates.
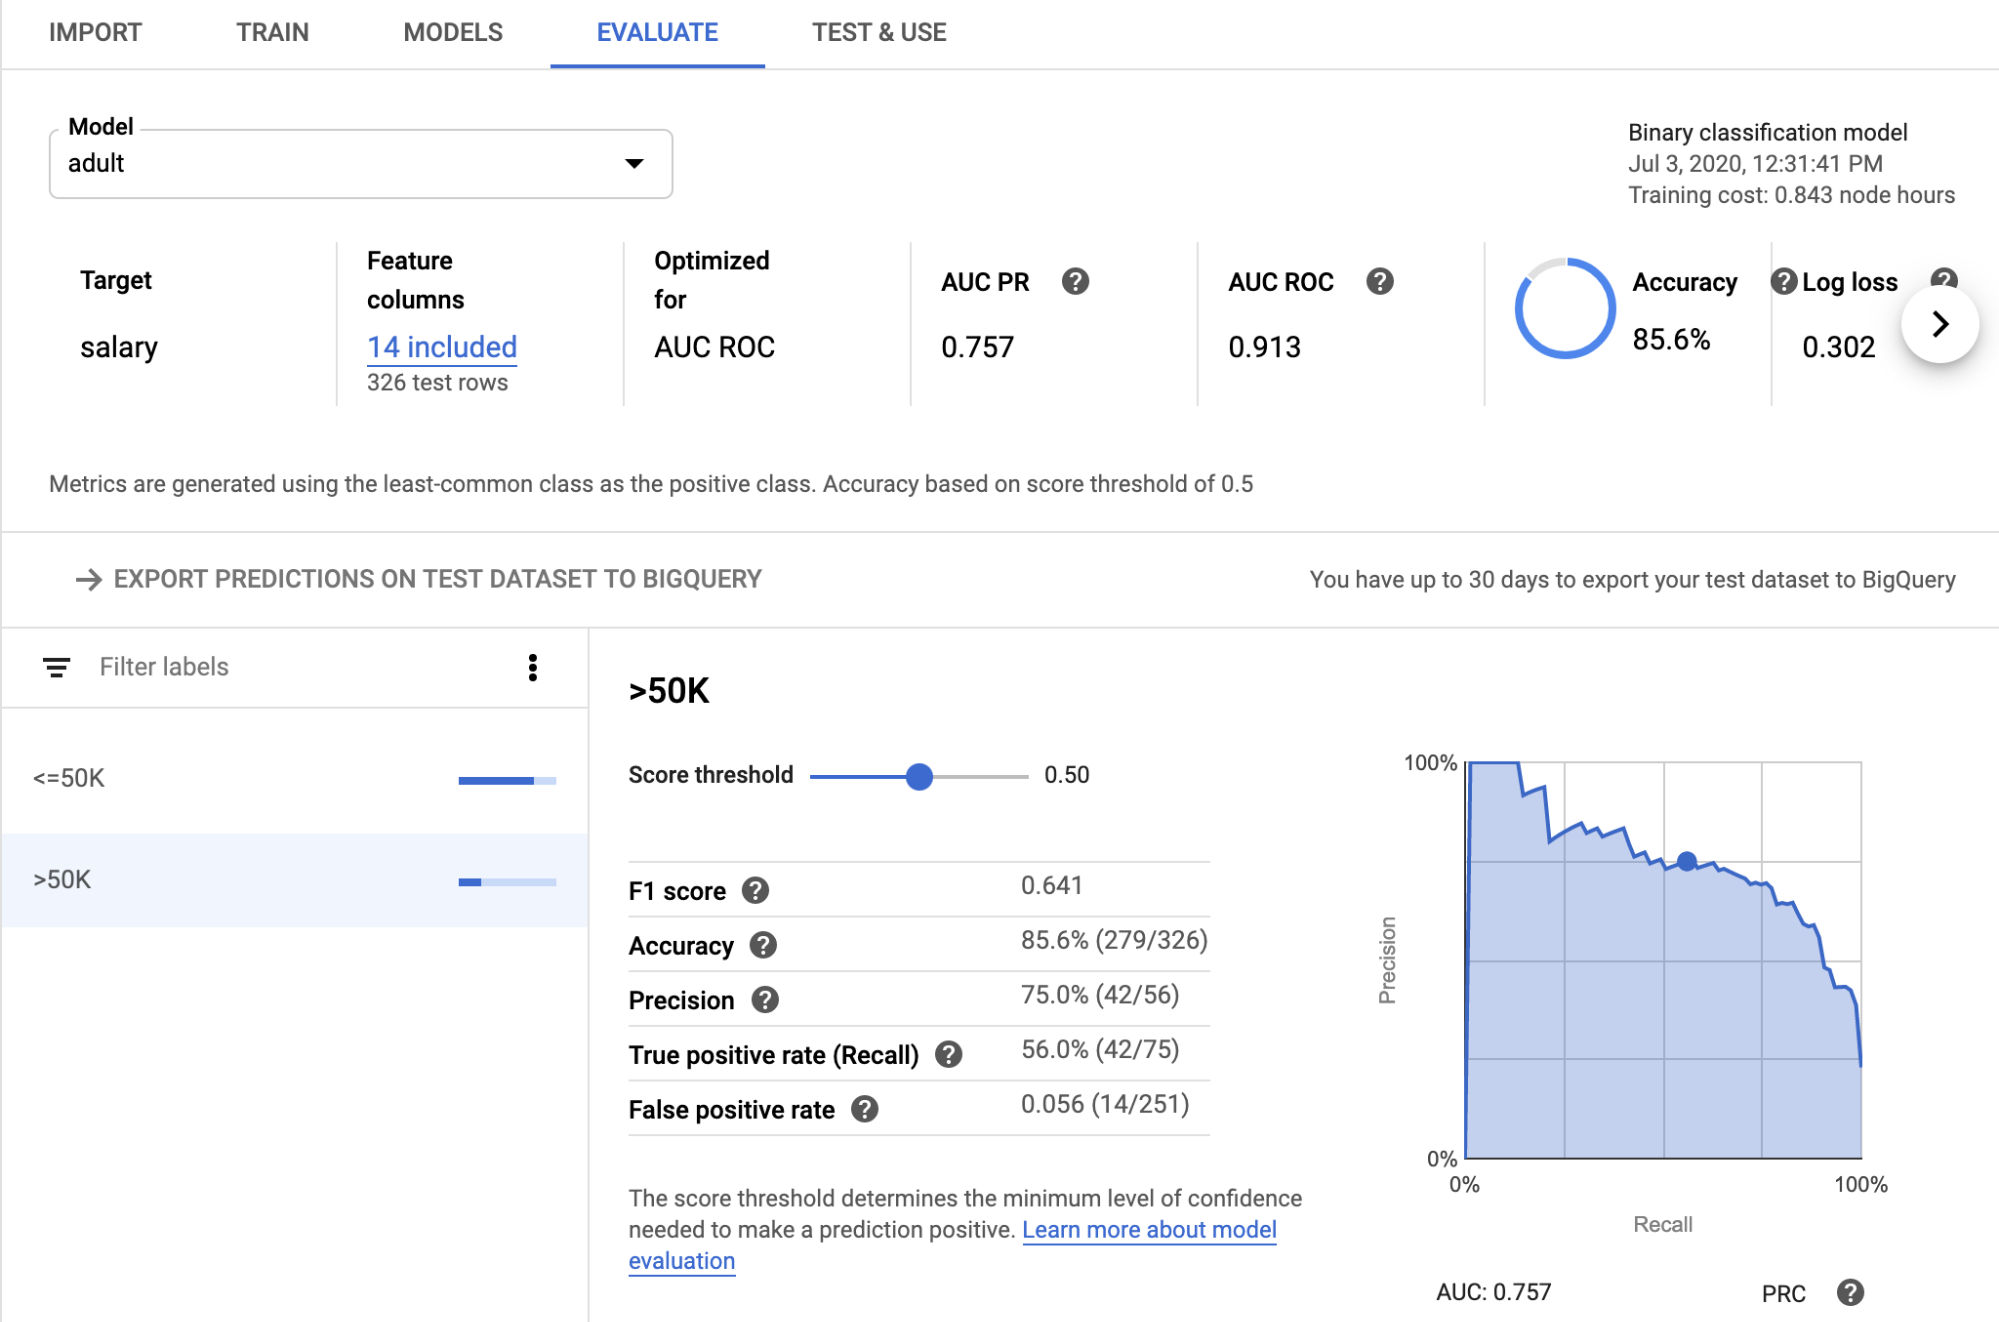
Another nice feature is that Google automatically calculates many different target metrics and provides analysis graphs such as feature importance or a PR-Curve.
At Google there are three easy ways to use a trained model:
- Batch Prediction: The user only needs to upload a dataset or provide a BigQuery connection, Google will then run the prediction and store the results at a specified location. Depending on the dataset size this will require a few minutes. Once the task is done, Google will send an email notification.
- Online Prediction: The immediate online prediction requires the model to be deployed first, which is a single click but takes 10-15 minutes to complete. After that, predictions can be calculated interactively and do not even require curl requests, since Google offers a neat web form.
- Export: The model can also be used outside of Google’s ecosystem. Therefore, the user will first need to export it to a Google Cloud Storage bucket and download the model files from there. Now, they can be applied using a pre-configured TensorFlow Docker image, which will serve the model as REST endpoint.
While Google provides a great happy path experience, gaining more control over the process is almost impossible. Even checking the performance of non-best model candidates will require users to read logs. Also, the Python SDK feels unnecessarily complicated, requiring developers to provide long, complicated resource IDs for almost every call while not documenting them most of the time. Up to now, the command line interface for Google’s AutoML is only available for vision and language tasks, but not for tabular data. This prevents its integration into automated custom processes, such as an automatic re-application if new data arrives or if a deployed model experiences a performance drop and needs to be fitted again.
AWS Sagemaker Autopilot
At Amazon, AutoML is deeply integrated into Sagemaker, the AWS Data Science kitchen sink. While the Sagemaker UI offers a wide range of functionalities from labelling jobs over predefined model packages to a data exchange market place, the AutoML is only available within the new Amazon Sagemaker Studio, which is limited to a few regions at point of writing. Sagemaker Studio requires a dedicated start command, since it is basically a VM running a dark sagemarker-themed jupyterlab with 6 custom Amazon plugins installed.
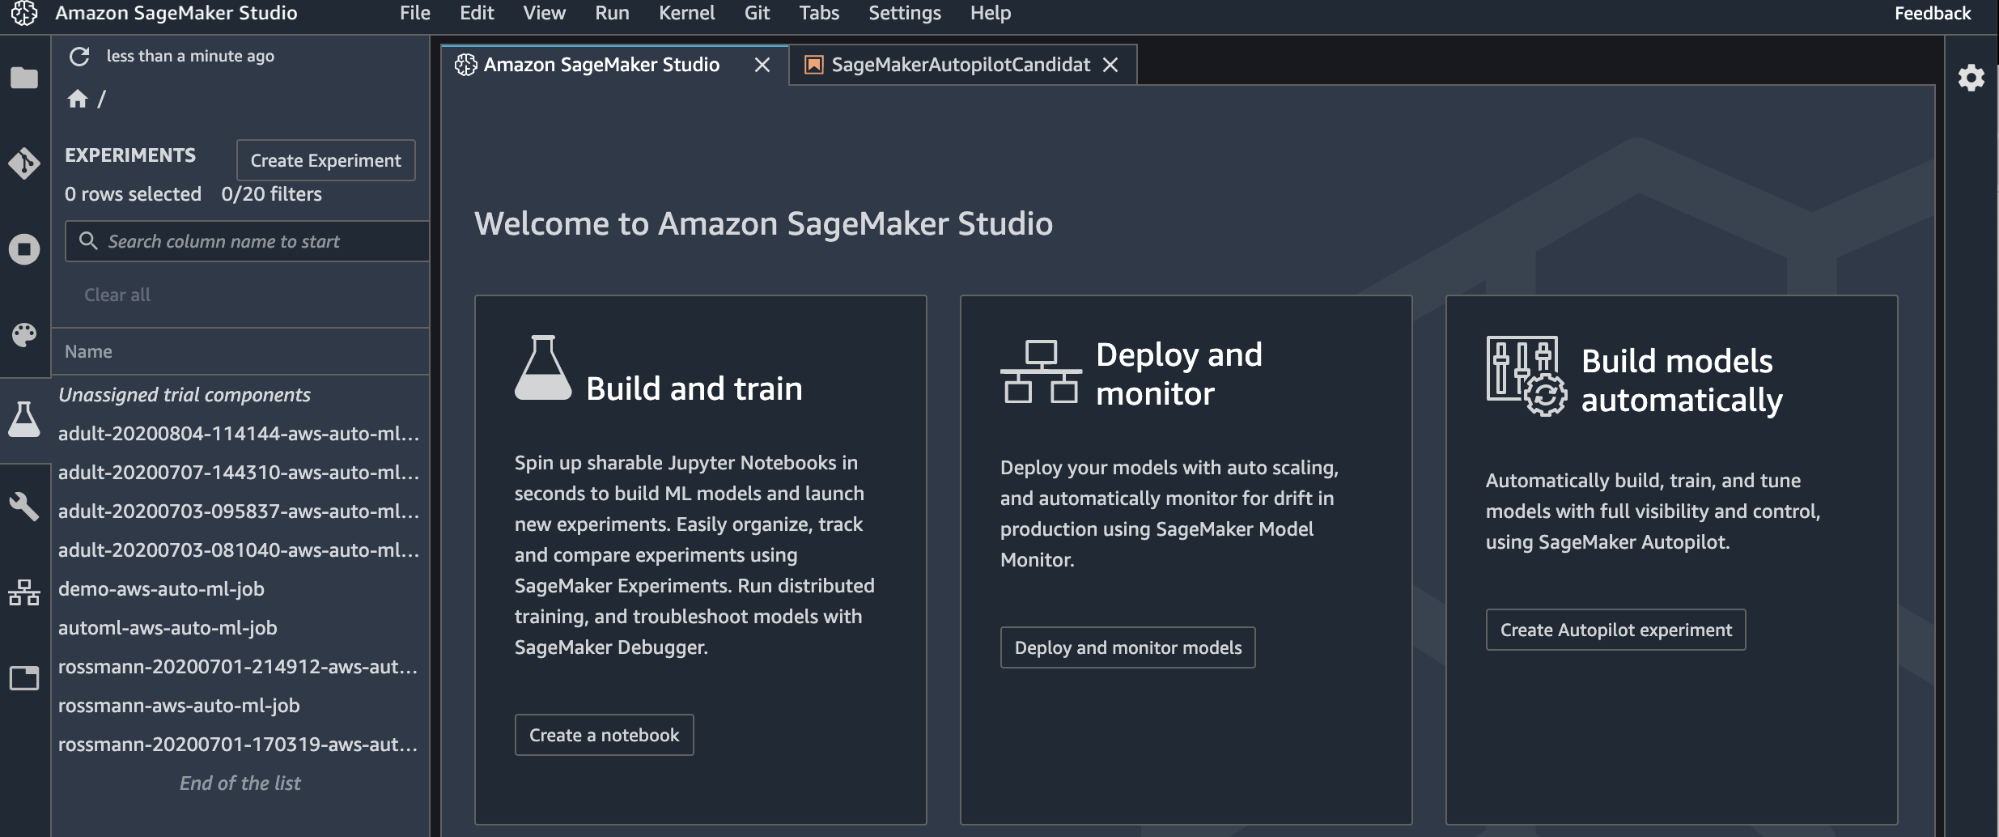
Welcome screen of the AWS SageMaker Studio: List of AutoML experiments in the sidebar, welcome tab within the main view
Starting an experiment is even more minimalistic than on Google AutoML: The only required information are a name, S3 bucket URIs for input and output, the target column and the type of learning problem (regression, binary or multiclass classification). The latter should even be inferred, if not specified manually, but this did not work in my test.
While I assume the training machines will probably use the same region as Sagemaker Studio, there is no option to influence the training process and not even the option to limit the amount of training capacity. Using the Python SDK the number of trials can be limited, but using the WebUI the only option to limit costs is to interrupt an active run at some point of time or to only create candidate definitions, which is an AWS term for only specifying AutoML Pipelines without training these.
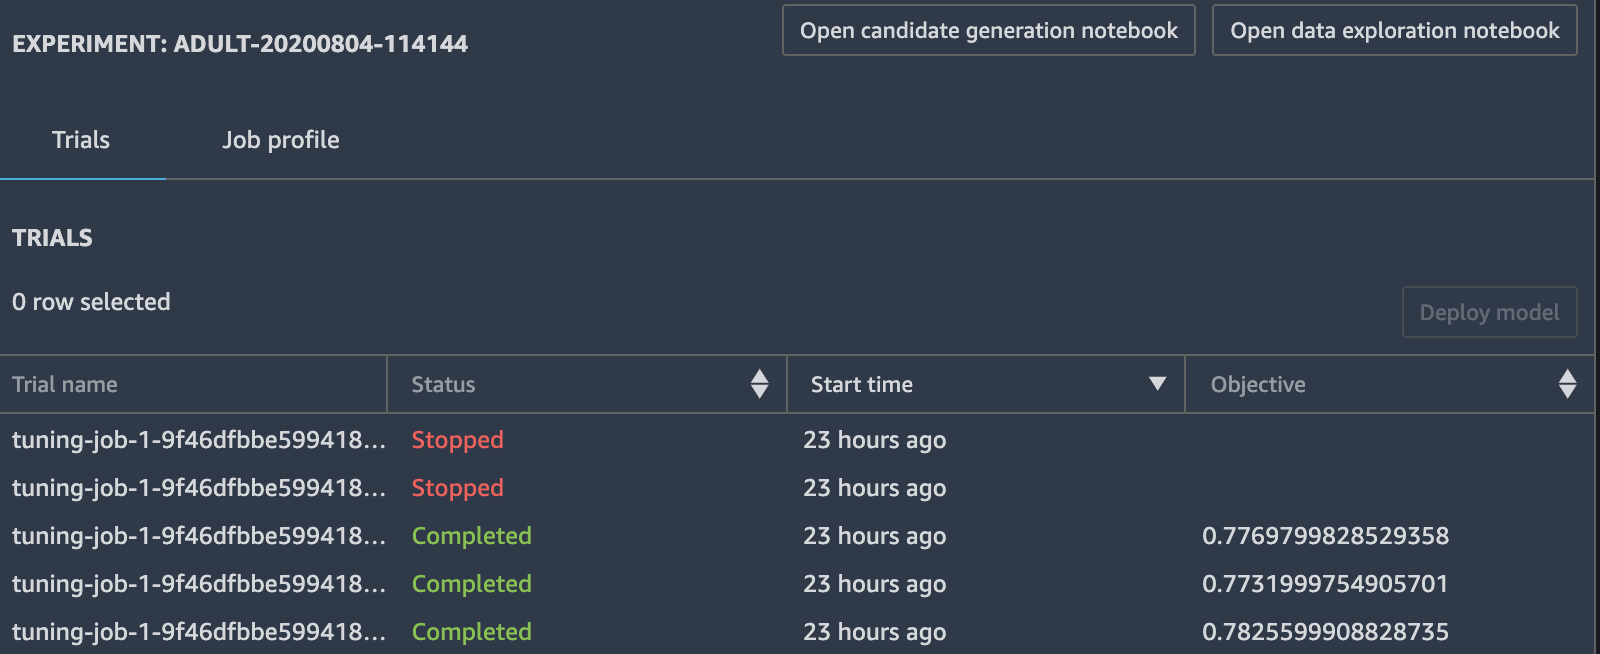
With such minimal settings, Autopilot will analyse the data to create a sophisticated selection of data transformer and machine learning model combinations. Those will then be evaluated concurrently. This process can be monitored in real time using the AutoML experiment tab, which can be accessed by right clicking on items in the AutoML sidebar.
When the job finishes, the user has access to a lot of different model files as well as two notebooks: The DataExploration notebook provides a few descriptive statistics on the dataset. The CandidateDefinition notebook on the other hand is a huge, verbose notebook that guides the developer through the trained models. It contains templates to train an ensemble model using Sagemaker’s distributed hyper parameter tuning functionality. Running all those steps will require additional time, but if everything succeeds, the model can be deployed by running the last cell of the CandidateDefinition Notebook. AWS also provides an interactive deployment which dynamically serves one prediction at a time and a batch mode that does not require a dedicated deployment.
The AWS workflow is completely contrary to Google’s. There is no single model, which provides the truth, rather AWS aims to quickly run typical steps data scientists do when working on a new model: Training many different models and combining those using an ensemble. This might be great for the diligent data scientist who can save time while keeping the flexibility. But running the huge CandidateDefinition notebook with its many outputs and AWS specific terms might feel overwhelming for some developers who just want to get a feeling on what can be achieved for their data problem.
Another controversial decision of Amazon is the deep integration of Autopilot in Sagemaker Studio. While the Jupyter interface makes the workflow easy and gives data scientists the feeling of being at home, it is also annoying to those who prefer to run their notebooks locally because of custom notebook preferences or a lacking internet connectivity. AWS does provide a command line interface and a Python SDK, so that the usage of AutoML does not require the usage of Sagemaker Studio, however, getting deeper insights or running the CandidateNotebook will require the user to open the Sagemaker Studio Web interface anyway.
Azure ML Studio
Similar to Amazon, AutoML at Azure is integrated in the machine learning studio. However, at Microsoft, this is not a Jupyter notebook but another web UI. AutoML is only available in the studio’s enterprise version. In contrast to AWS and Google, you will first need to create some compute instances by hand, which is an extra step, but gives control over the hardware. In order to avoid unnecessary costs, it’s recommended to create a compute cluster which also automatically scales down to zero if there is no work to do.
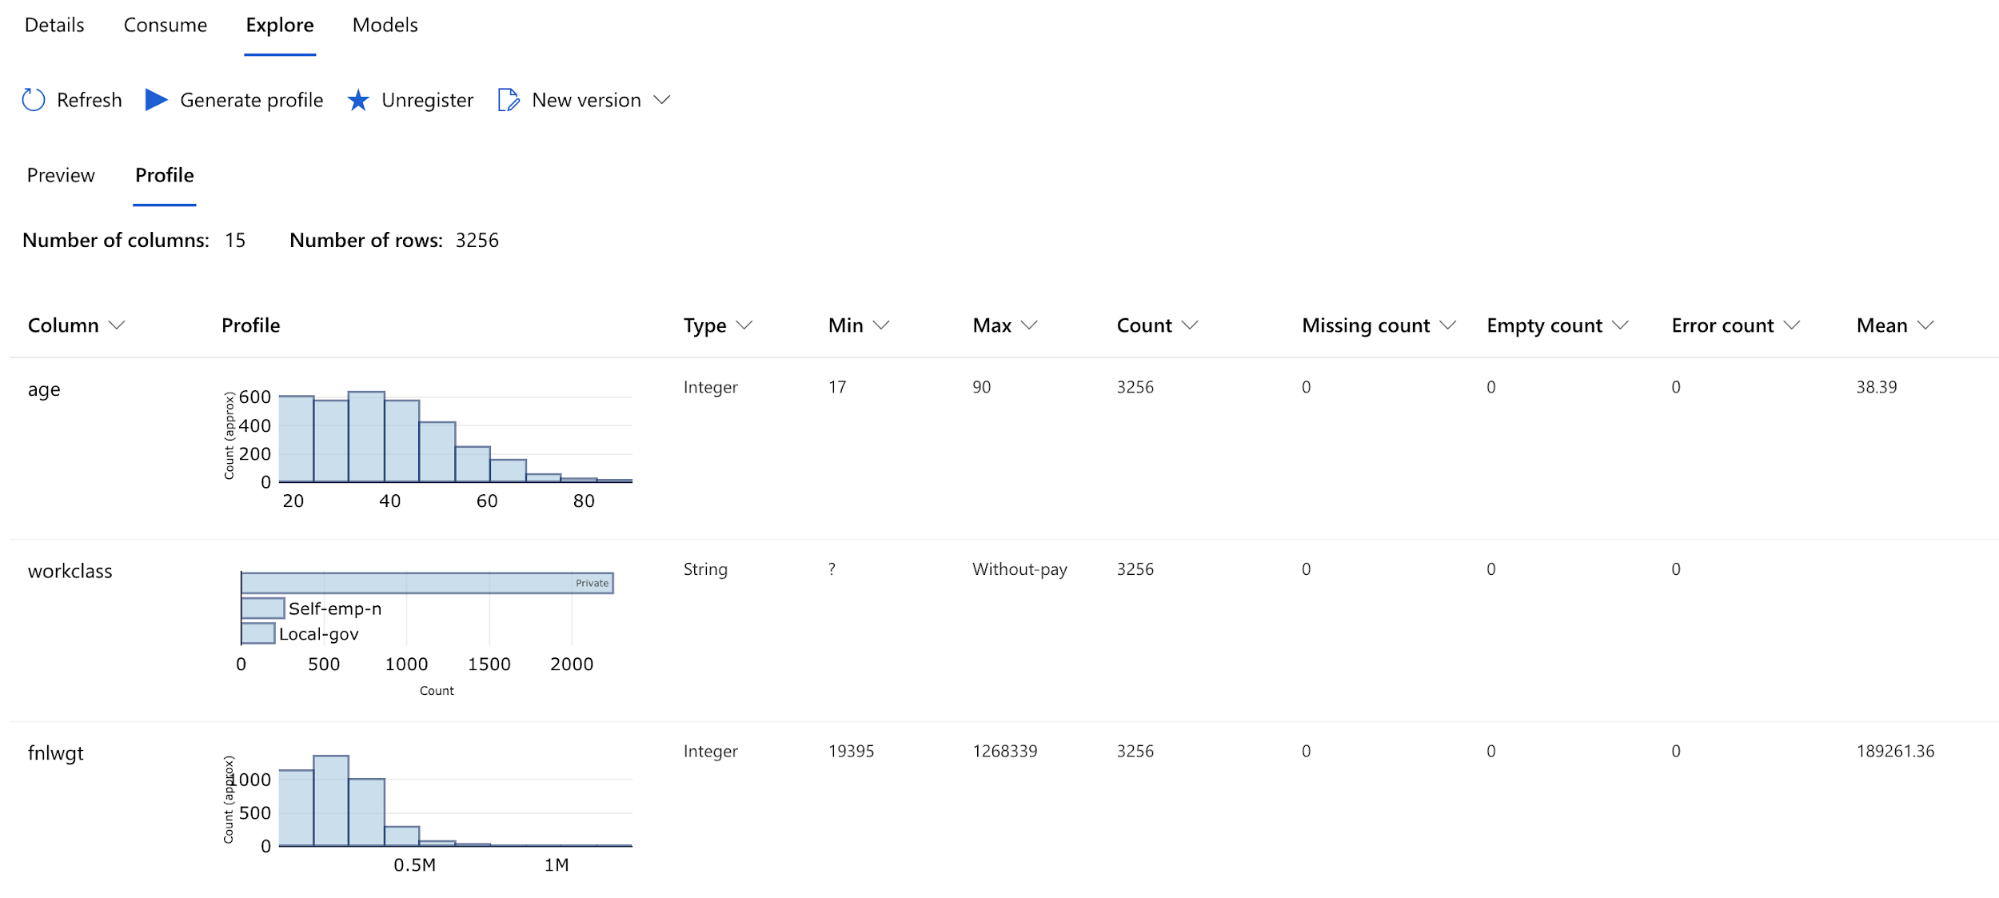
After that, you will need to upload your data, which can be done using an API call or the web form. This step can also trigger a profiling run, which is based on the python library Pandas Profiling and creates a report that contains a lot of column statistics, similar or maybe even a bit more detailed than those of the other cloud vendors.
The AutoML runs at Azure are grouped into experiments and do not only offer classification and regression tasks but also time series forecasts. Compared to the other vendors, Azure users have more fine grained control over the run by limiting the set of models and transformations to apply, controlling the strategy for train-test-validation split and configure early stopping criteria as well as process concurrency.
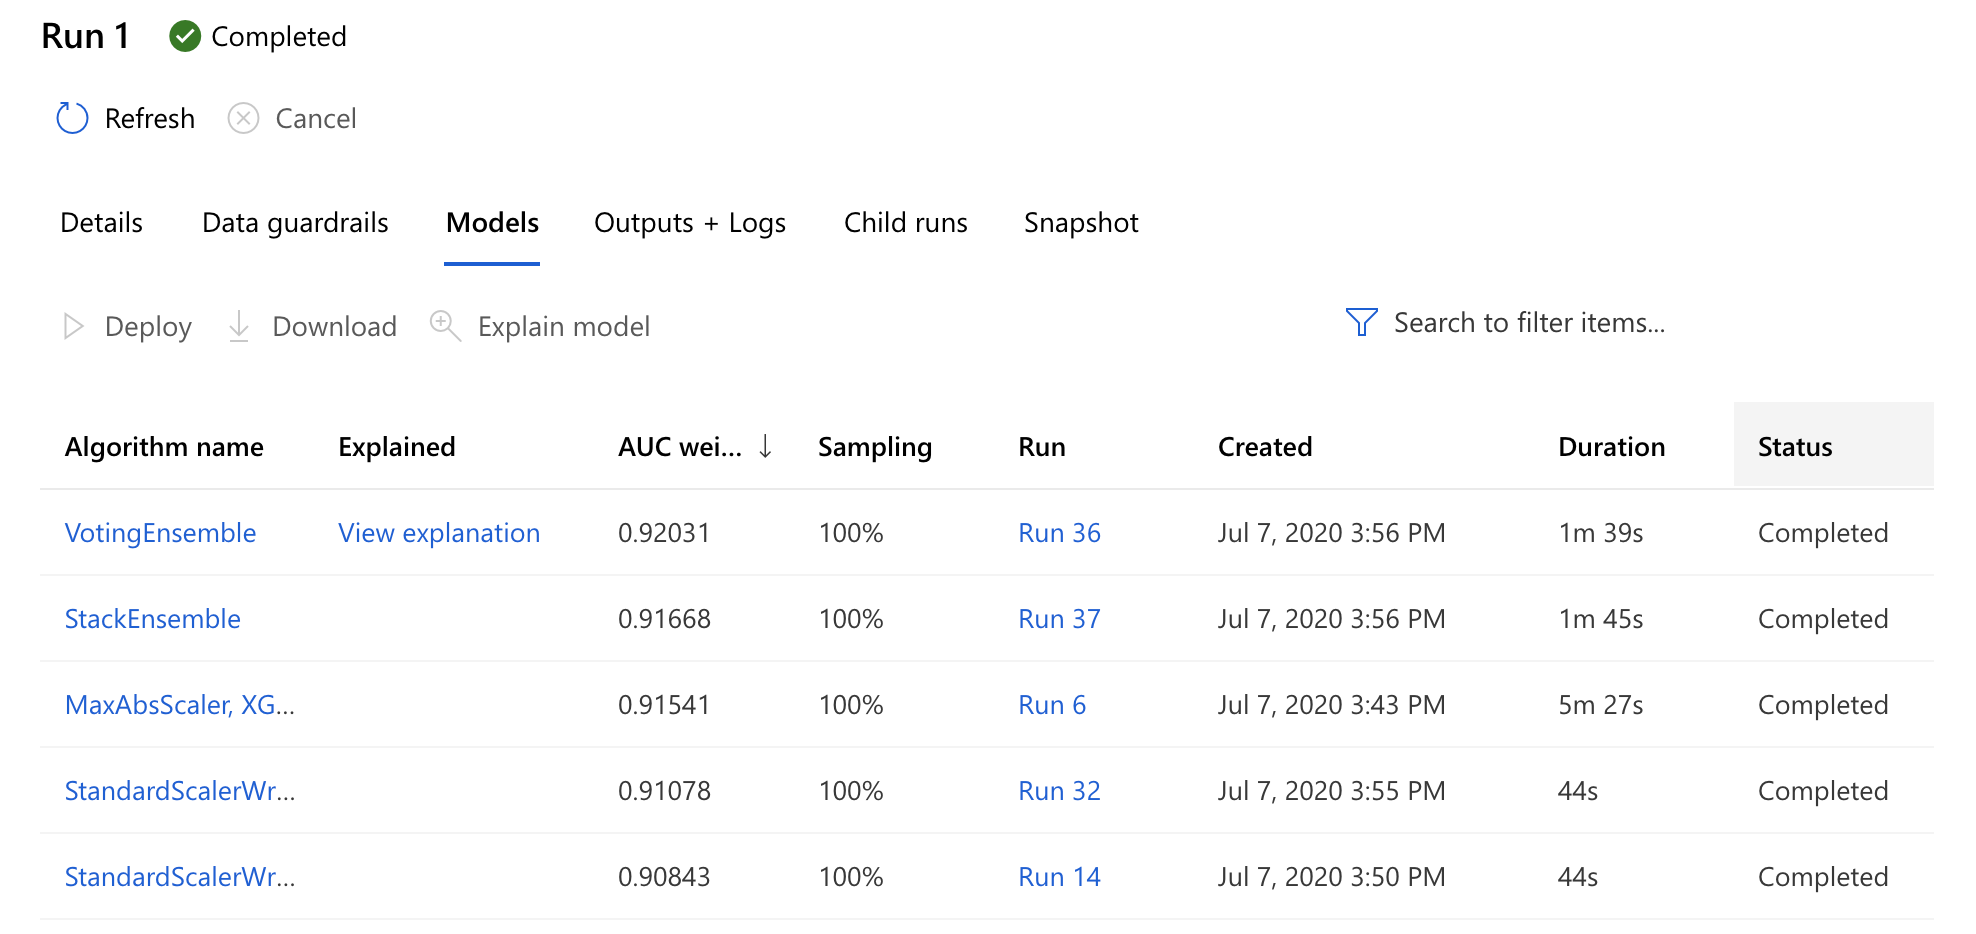
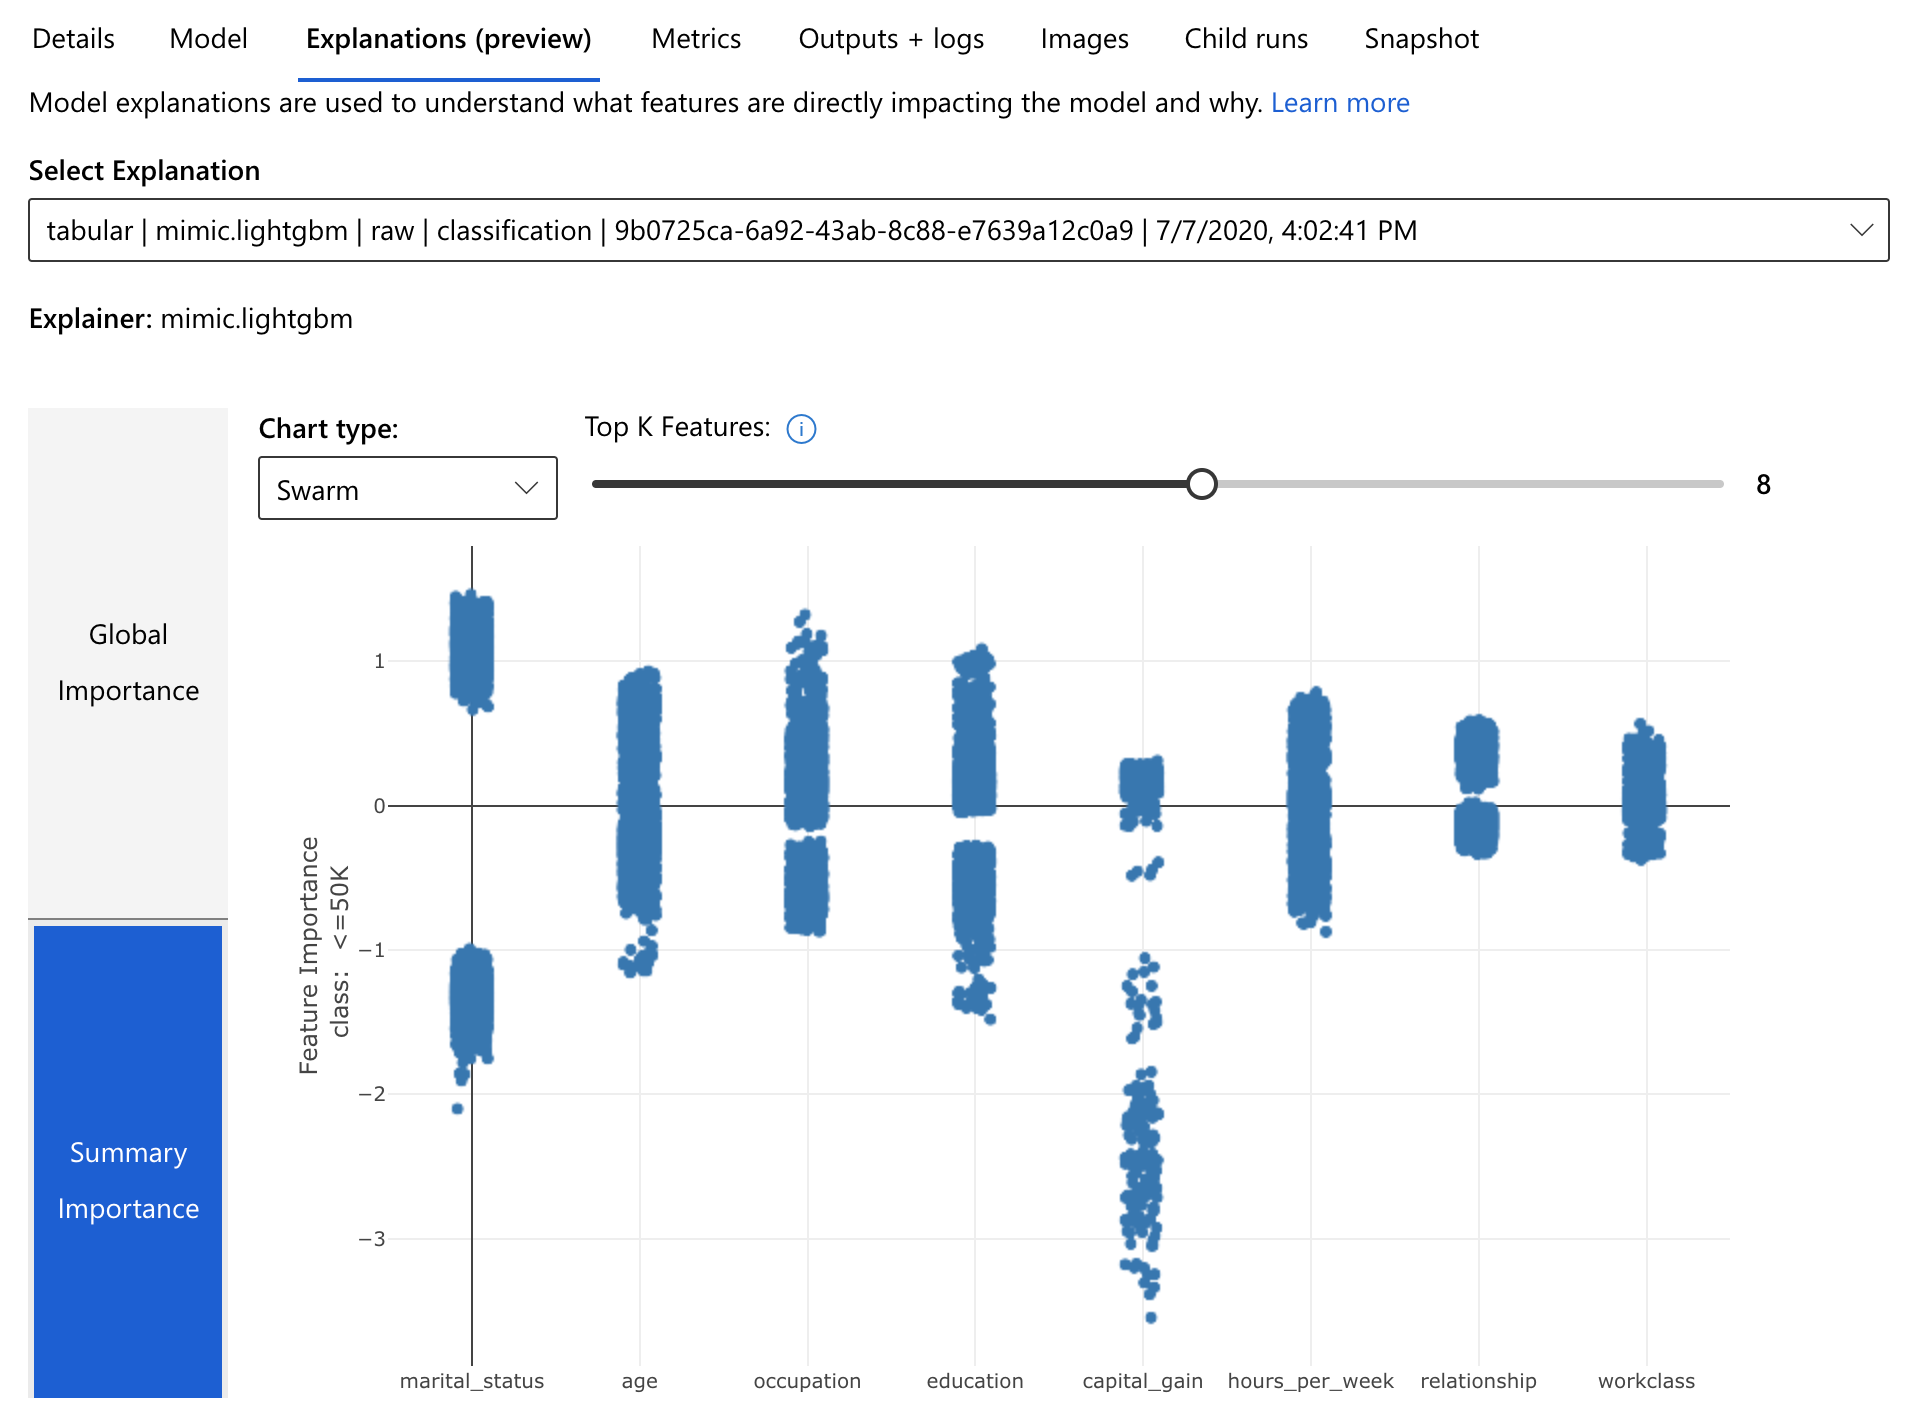
While the experiment runs, users can view the result of the iteratively performed child runs and check the metrics of the already finished ones. After termination, an explanation run will be triggered on the most promising child run. Users can also decide to choose and explain other models.
At Azure, there is no dedicated batch prediction. Models can be deployed by pushing them to an existing Kubernetes cluster or starting a virtual machine with a running Docker container.
This way, a REST endpoint is created which can be used with or without authentication and can serve prediction of a single or a set of entries.
Predictions of Azure models can also be calculated easily on-premise, since only open source models are considered. Therefore, users need to download a zip containing the fitted model next to an environment file and a scoring script. Those can be used to recreate the training environment locally to calculate predictions or continue the model training.
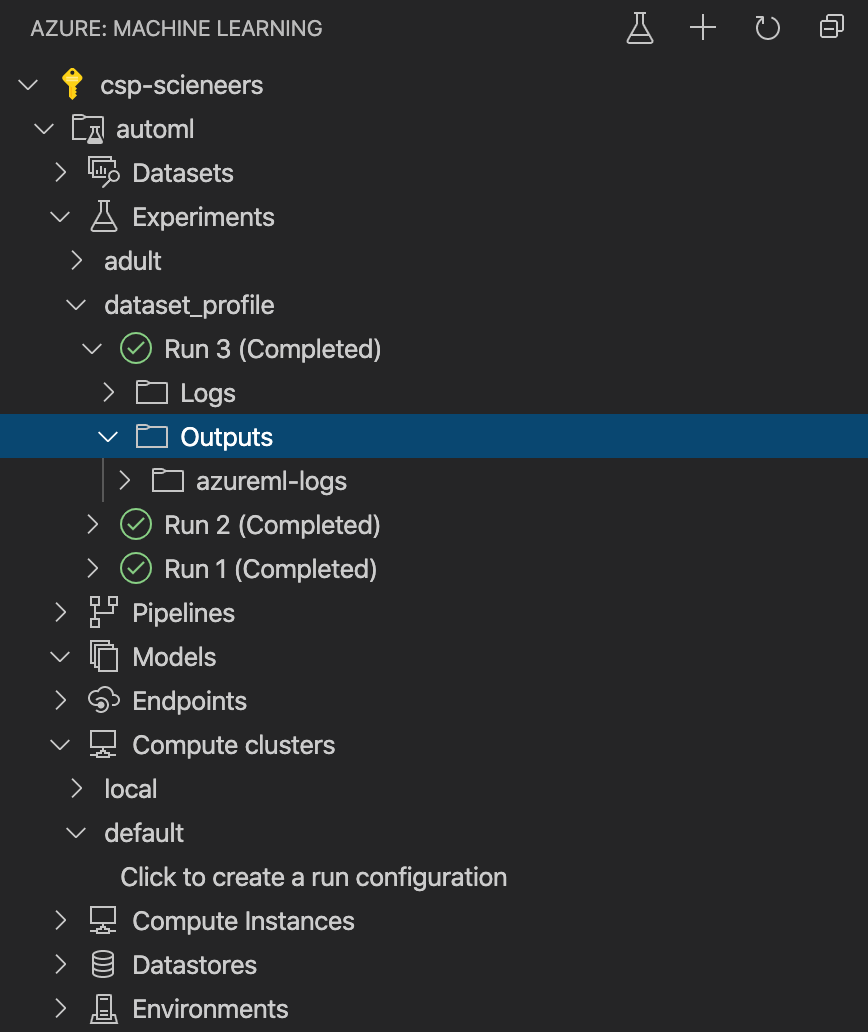
Generally, Azure does not require users to use the web UI in order to apply AutoML as much as other vendors. The Python SDK provides access to all functionalities, is well structured, and has good documentation. Furthermore, resources can also be monitored using the command line interface or a very neat VS Code Plugin.
Summary
While all three cloud vendors offer an AutoML product, their usage is quite different. AutoML at Google is targeted for end users that just want to get some working off-the-shelf model without much trouble. The job setup requires minimal effort and the result is a single model with some precalculated metrics and nice analysis charts. Also, its application to new data feels easiest at Google.
Amazon Sagemaker Autopilot on the other hand aims to support data scientists by creating multiple, promising models that intend to be building blocks for an ongoing analysis and more sophisticated ensembles. This can be powerful and might be a good fit for ambitious data scientists who want to find the best performing model, especially because of the tight integration into Sagemaker Studio.
Microsoft’s AutoML provides something like a sweet spot in the middle: It offers multiple ways to customize a training run in advance and provides the user the best performing as well as all other trained models along with model explanations. Azure separates the control over compute resources more strictly and scores when it comes to tooling and documentation.
| AWS | Azure | ||
| Recommended Usage Form | Web Forms | JupyterLab Plugin | Web UI or SDKs |
| Data Profiling | Web UI | minimal notebook | Pandas Profiling Integration |
| Training Configuration | very limited customization | No ahead configs,
control using selection notebook afterwards |
model + transformer selection and other configs ahead |
| Model Deployment | webservice + batch | webservice + batch | webservice |
| Python SDK | partial support | Full support (aws or boto3) | Full support |
| Command Line | – | – | Monitoring only |
A nice developer experience is important for a good cloud offering, but the model performance is at least as important as the developer experience. However the performance highly depends on the problem, the size of the dataset, the target variable and many other components. Therefore, it is not enough to compare the frameworks on a single dataset. We will do some more tests within the future and provide a quantitative comparison in a subsequent blog post.
Nico Kreiling
Senior Data Scientist

